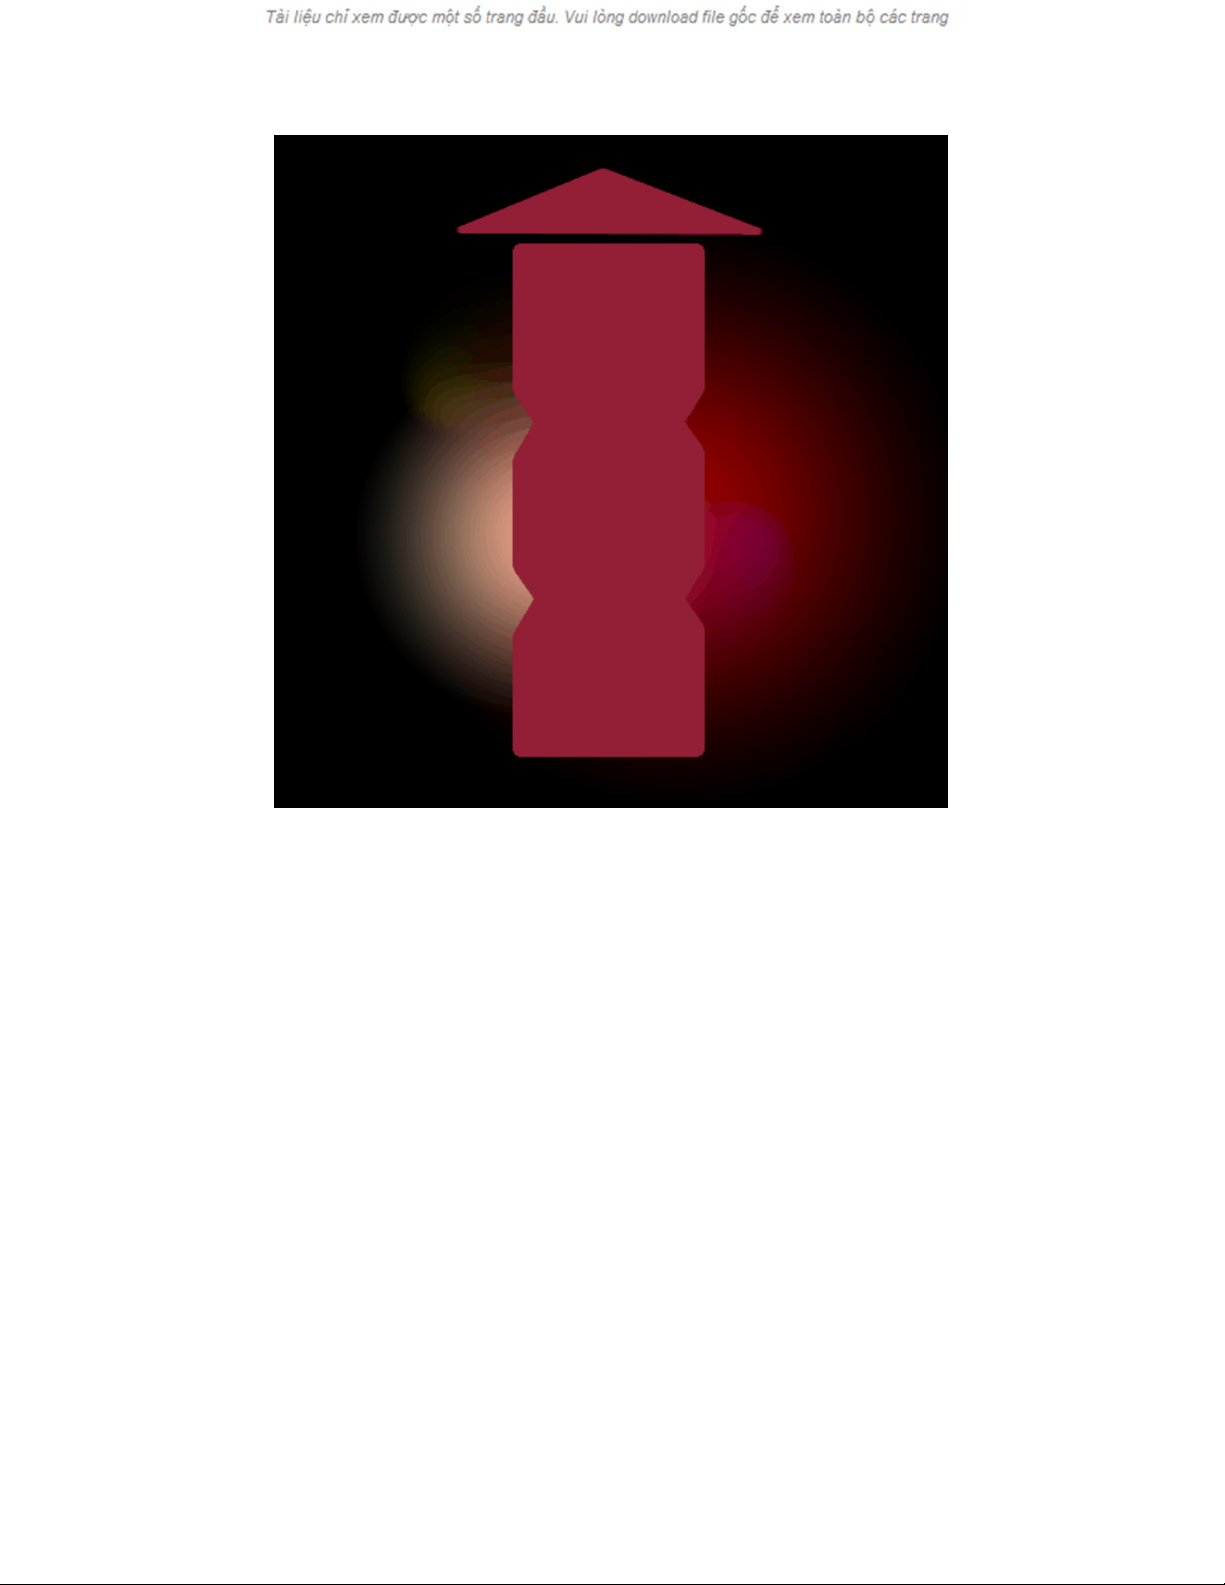
[13]-Now create the following selection with the help of Rectangular Marquee Tool &
then ‘Delete’
[13]-Bây giờ tạo ra các lựa chọn sau đây với sự giúp đỡ của Rectangular Marquee
Công cụ & sau đó 'Xóa'
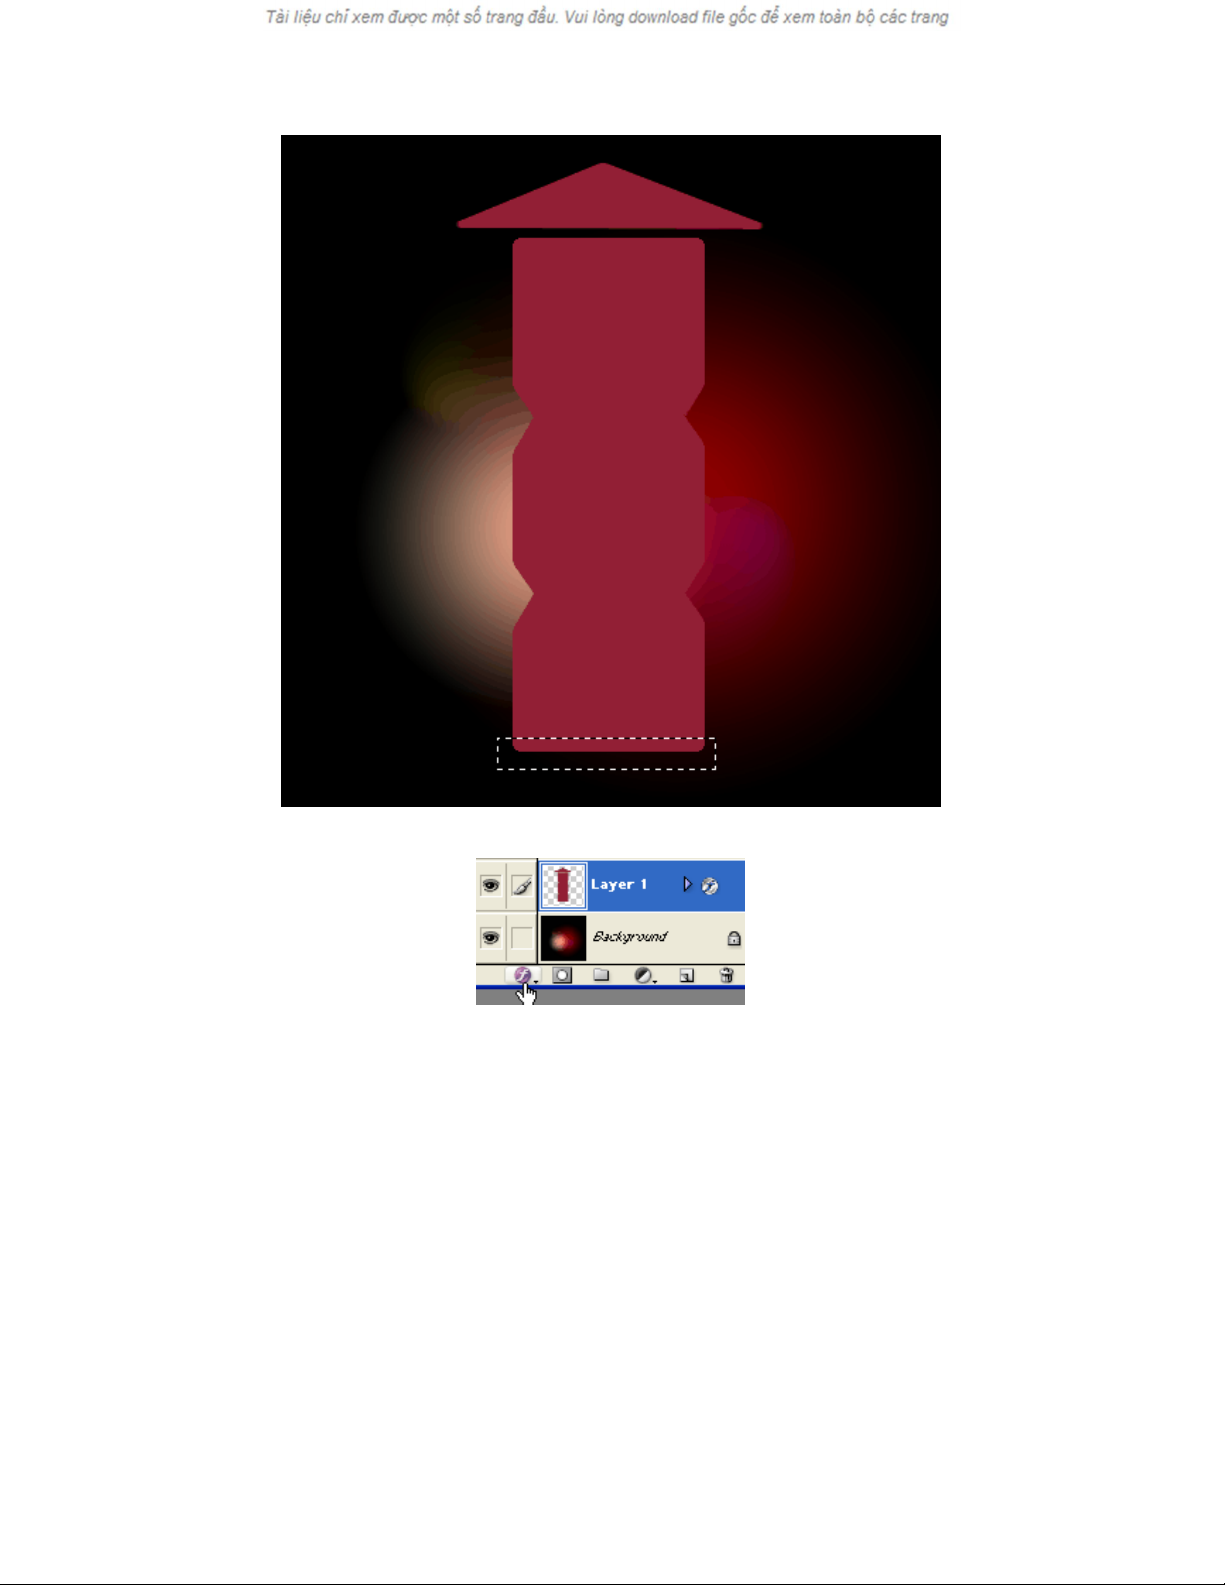
[14]-Now click on ‘f’ which is indicating by Hand sign as shown below
[14]-Bây giờ bấm vào 'f' mà chỉ là do tay ký như hiển thị dưới đây
[15]-Now select Bevel & Emboss and apply the following settings
[15]-Bây giờ chọn bevel & EMBOSS và áp dụng các cài đặt sau đây
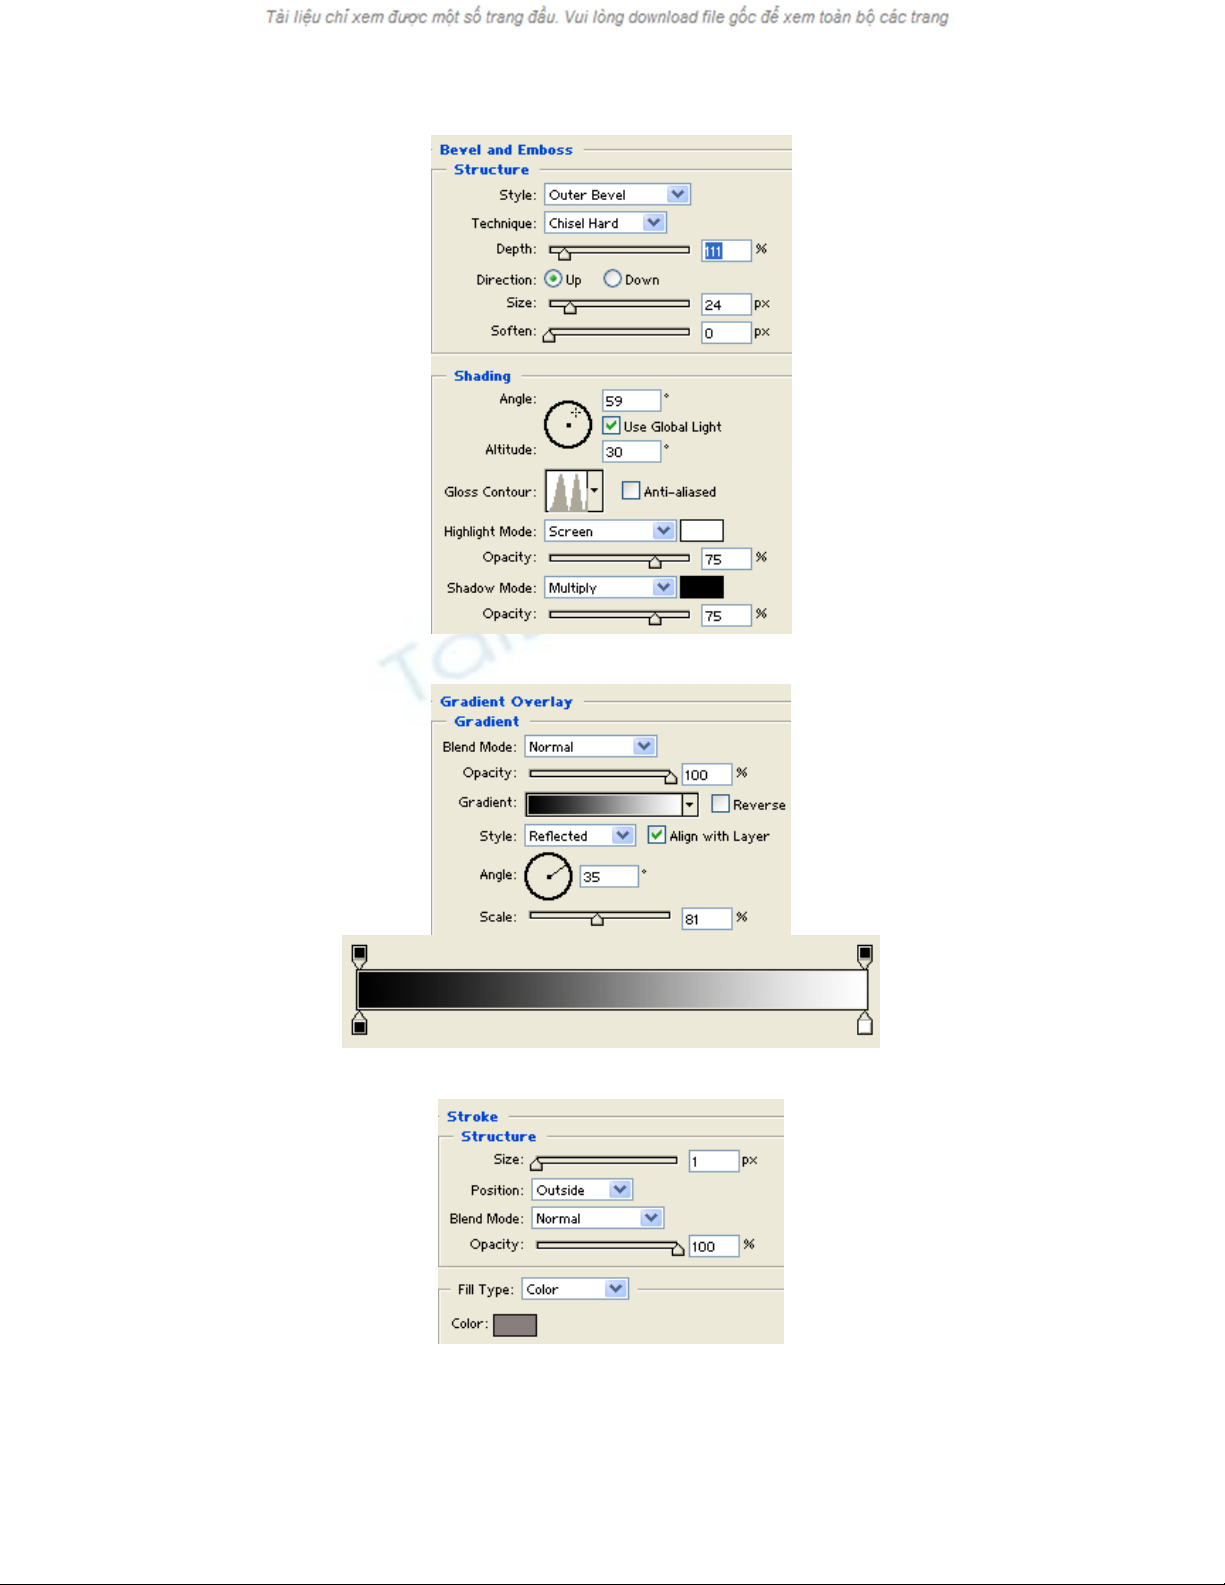
[16]-Now select Gradient Overlay & use the following settings
[16]-Bây giờ chọn Nền Lớp phủ & sử dụng các cài đặt sau đây
[17]-Now select Stroke and apply the following settings
[17]-Bây giờ chọn Tai biến mạch máu não và áp dụng các cài đặt sau đây
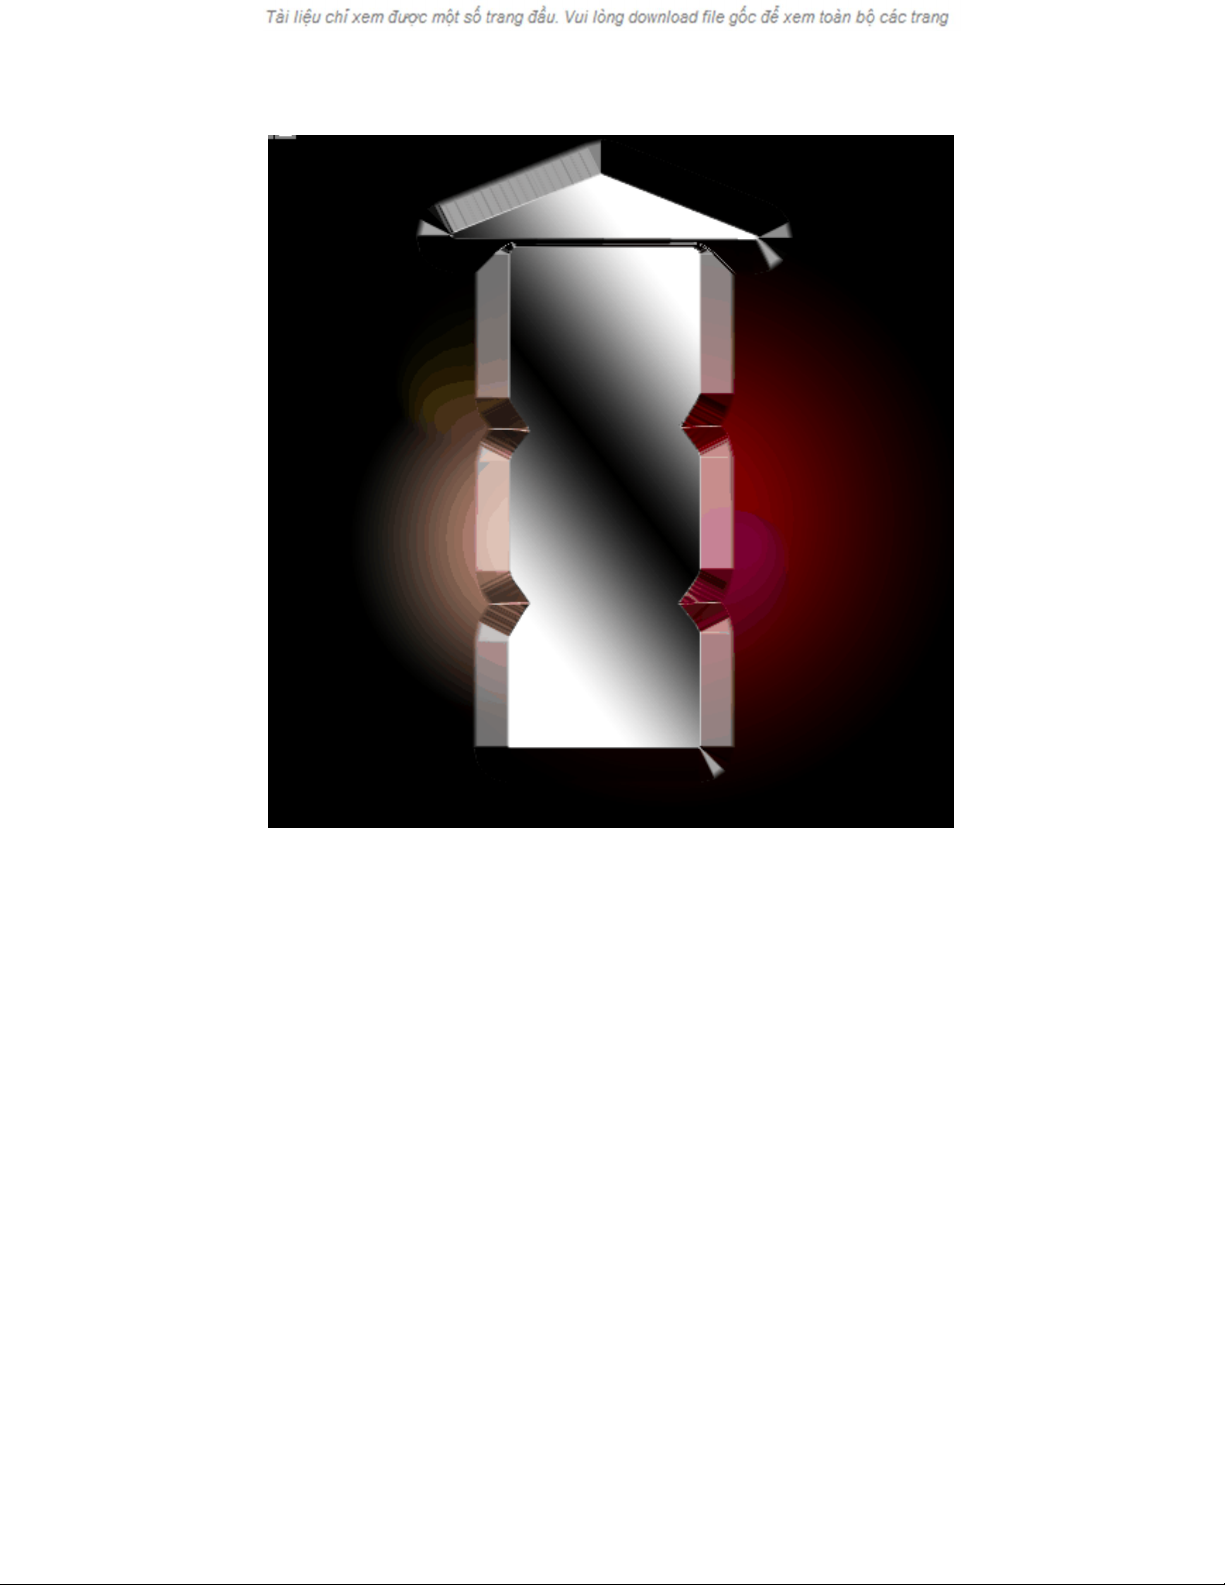
[18]-Now your image will be look as shown below
[18]-Bây giờ hình ảnh của bạn sẽ được xem như hiển thị dưới đây
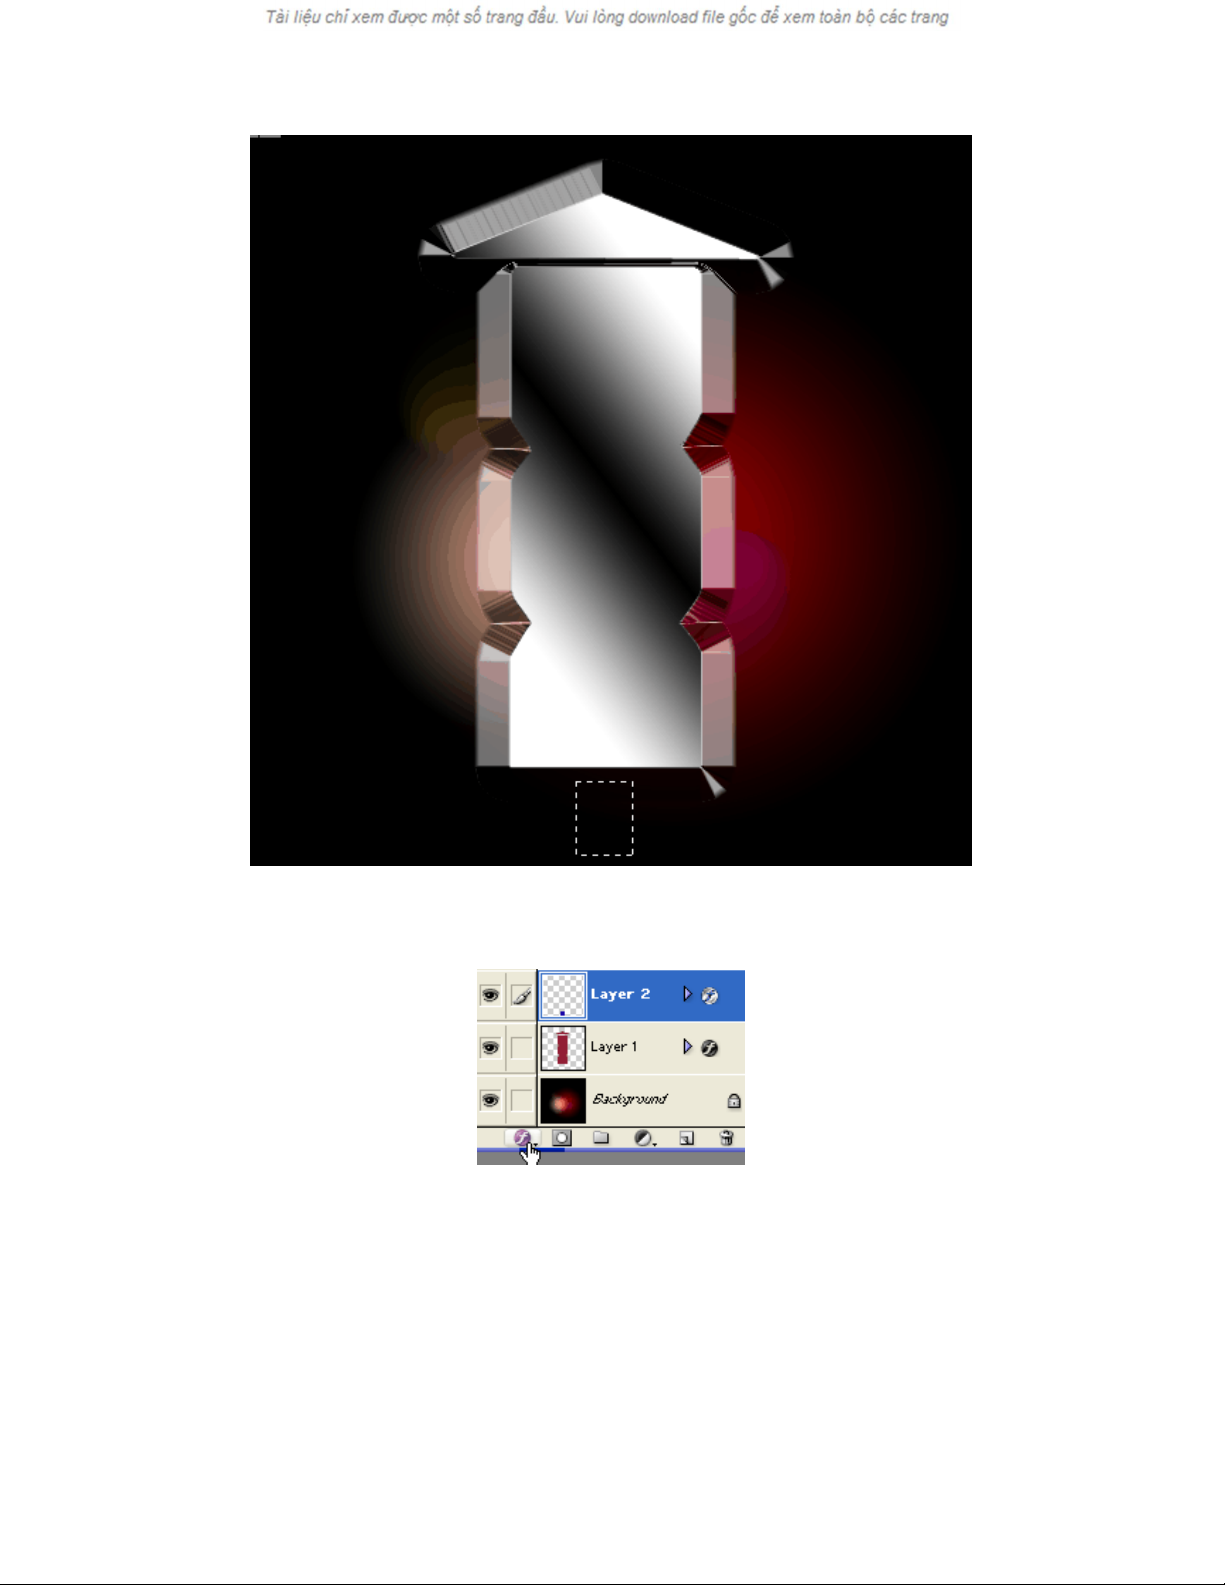
[19]-Now create the following selection with the help of Rectangular Marquee Tool
[19]-Bây giờ tạo ra các lựa chọn sau đây với sự giúp đỡ của Rectangular Marquee
Công cụ
[20]-Now fill the selection with any color & click on ‘f’ which is indicating by Hand
sign as shown below
[20]-Bây giờ hãy điền vào lựa chọn với bất kỳ màu sắc & bấm vào 'f' mà chỉ là do tay
ký như hiển thị dưới đây
[21]-Now select Gradient Overlay and apply the following settings
[21]-Bây giờ chọn Nền Lớp phủ và áp dụng các cài đặt sau đây


![Giáo trình Kẻ chữ cơ bản (Trình độ Trung cấp) - Trường Trung cấp Mỹ thuật - Văn hóa Bình Dương [Mới nhất]](https://cdn.tailieu.vn/images/document/thumbnail/2025/20251205/kimphuong1001/135x160/64541764908350.jpg)


![Giáo trình Kỹ xảo video Trường Cao đẳng Cơ điện Hà Nội [Mới nhất]](https://cdn.tailieu.vn/images/document/thumbnail/2026/20260323/lionelmessi01/135x160/79751774382791.jpg)


